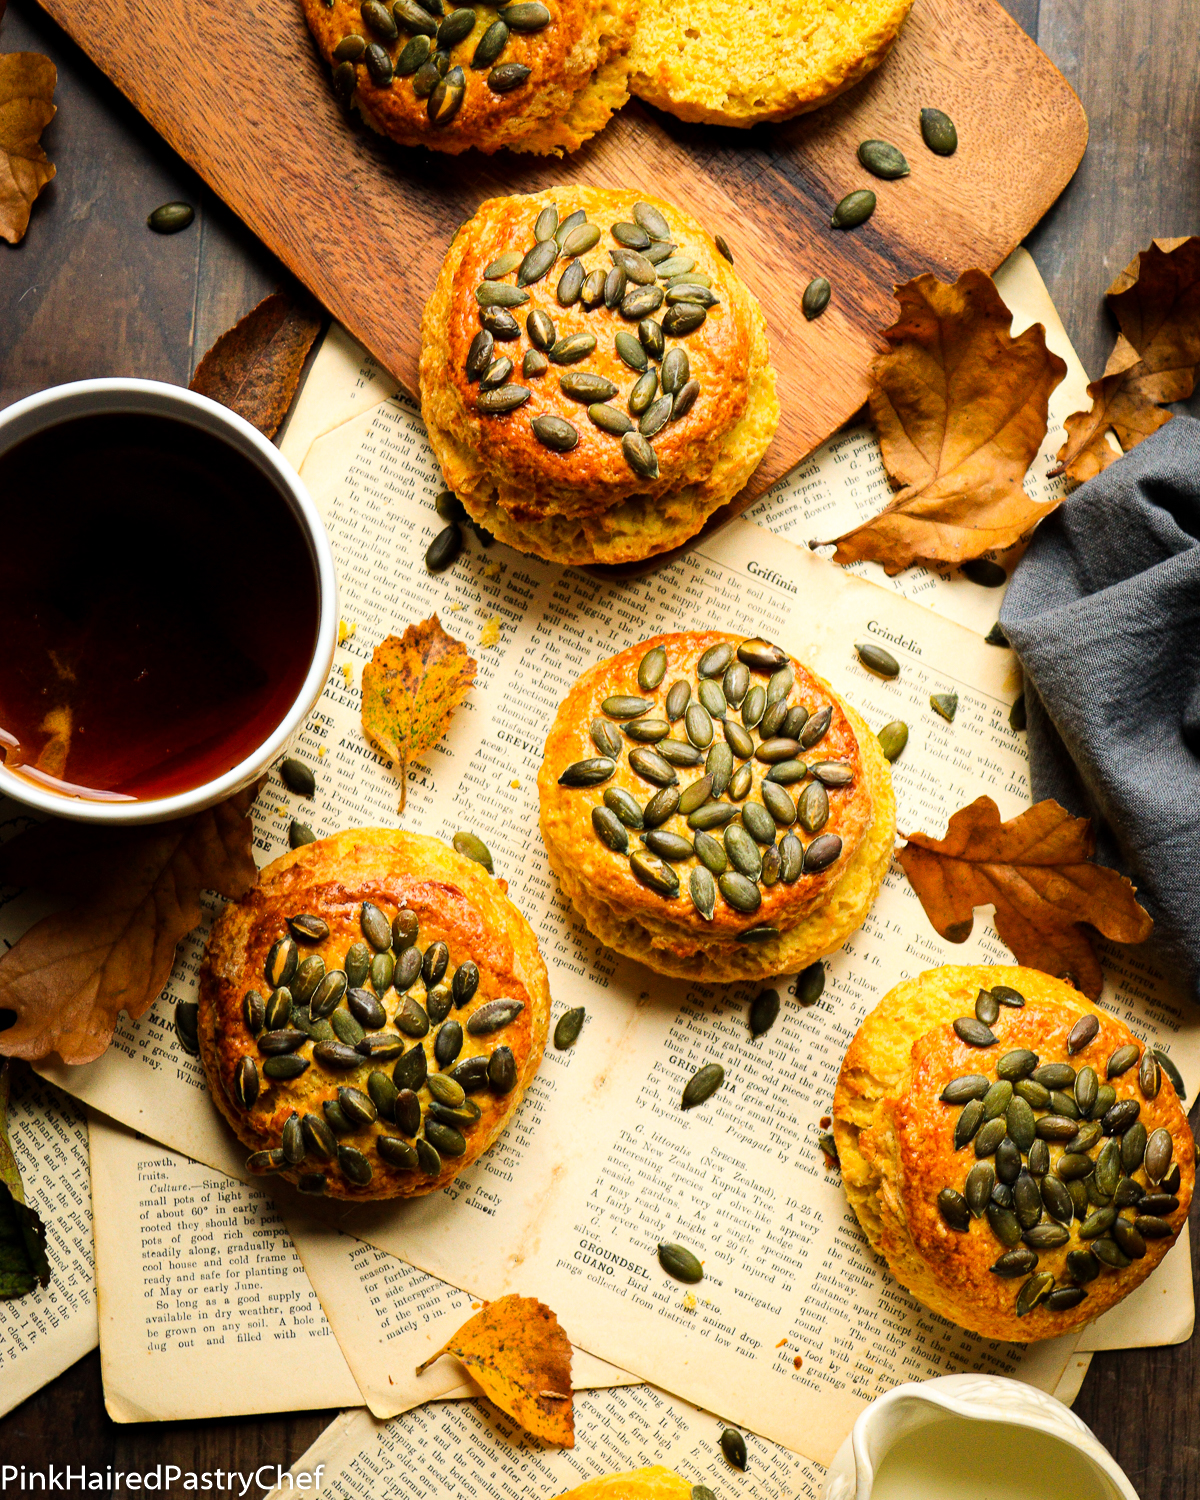
Pumpkin Spice Scones topped with Pumpkin Seeds Recipe
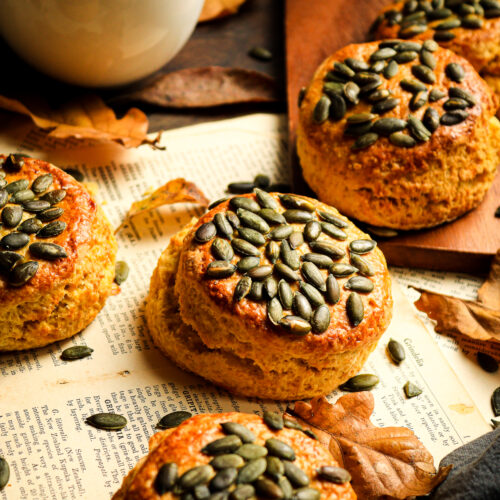
These Pumpkin Spice Scones topped with Pumpkin Seeds are everything you could want in a scone during winter. They are light and moist on the inside with a crunchy shell and topped with pumpkin seeds for extra cronch. They contain pumpkin puree (does this count as part of your 5 a day?) and warming delicious pumpkin spice. You can choose to use store bought pumpkin spice or make your own, the choice is yours! And with other pumpkin recipes, you can actually substitute in squash puree if that’s what you have. Looking for more scones recipes? Check out my Blueberry Buttermilk Scones Recipe or my Irish Strawberry Scones Recipe (With Secret Ingredient- Mashed Potato!).

So how do I make these Pumpkin Spice Scones topped with Pumpkin Seeds?
To make these pumpkin spice scones, we begin by making or buying thew pumpkin puree. You have a number of options here. You can buy it already made and canned, here. Or you can make your own.
To begin making this pumpkin puree, prepare the pumpkin by slicing in half and scooping out the seeds. Slice the pumpkin into thick wedges and place onto a flat baking tray. Roast off for 20-30 minutes until the flesh has softened and you can easily poke a knife into it. Remove from the oven and allow to cool slightly. Once slightly cool, scoop the flesh off the skin and place into a bowl. Using a hand blender or food processor, blend until smooth and leave to once side to cool fully. If you can’t get your hands on a pumpkin, you can also use butternut squash or sweet potato. Follow the same instructions as above and use exactly the same way! They’ll never know.
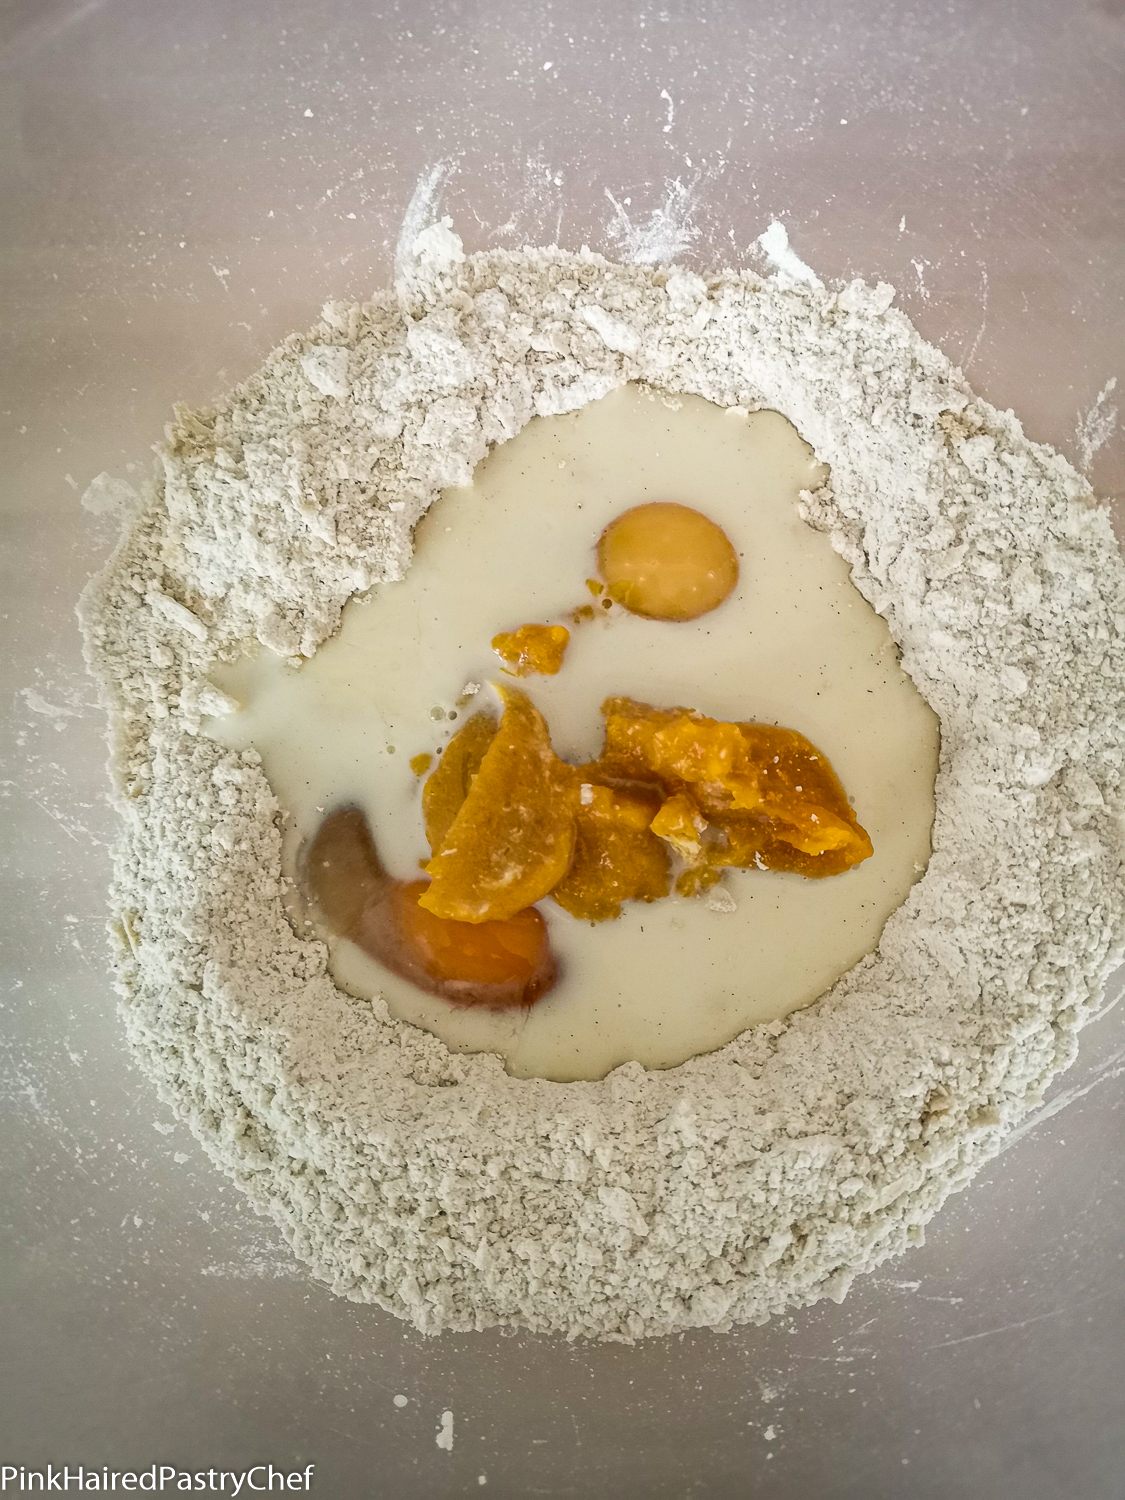
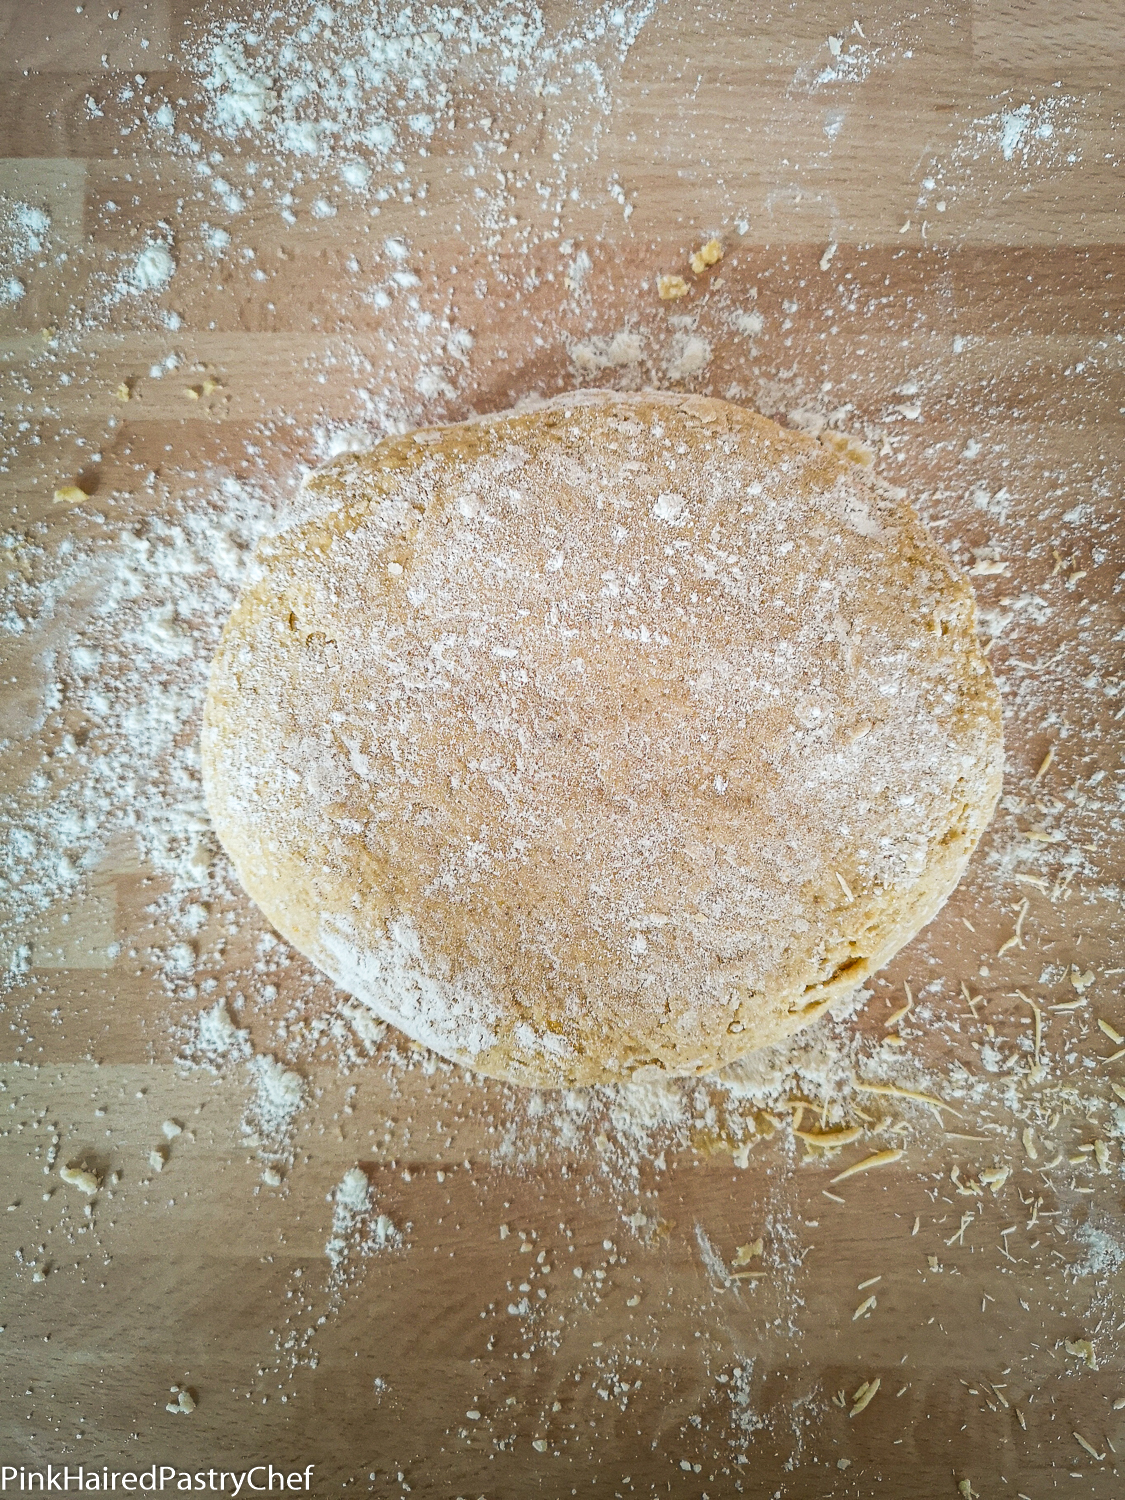
Once you have your puree cooked and cooled, add all the dry ingredients to a large mixing bowl. Add in the soft, room temperature butter and rub together with the flour with your hands until it resembles breadcrumbs. Create a well in the centre . Next add in the eggs, puree and milk. Mix together briefly until a shaggy dough has formed. Be careful not to over mix , I usually have a little unmixed flour left at the bottom of the bowl. Tip out onto a lightly floured surface and pat down gently.
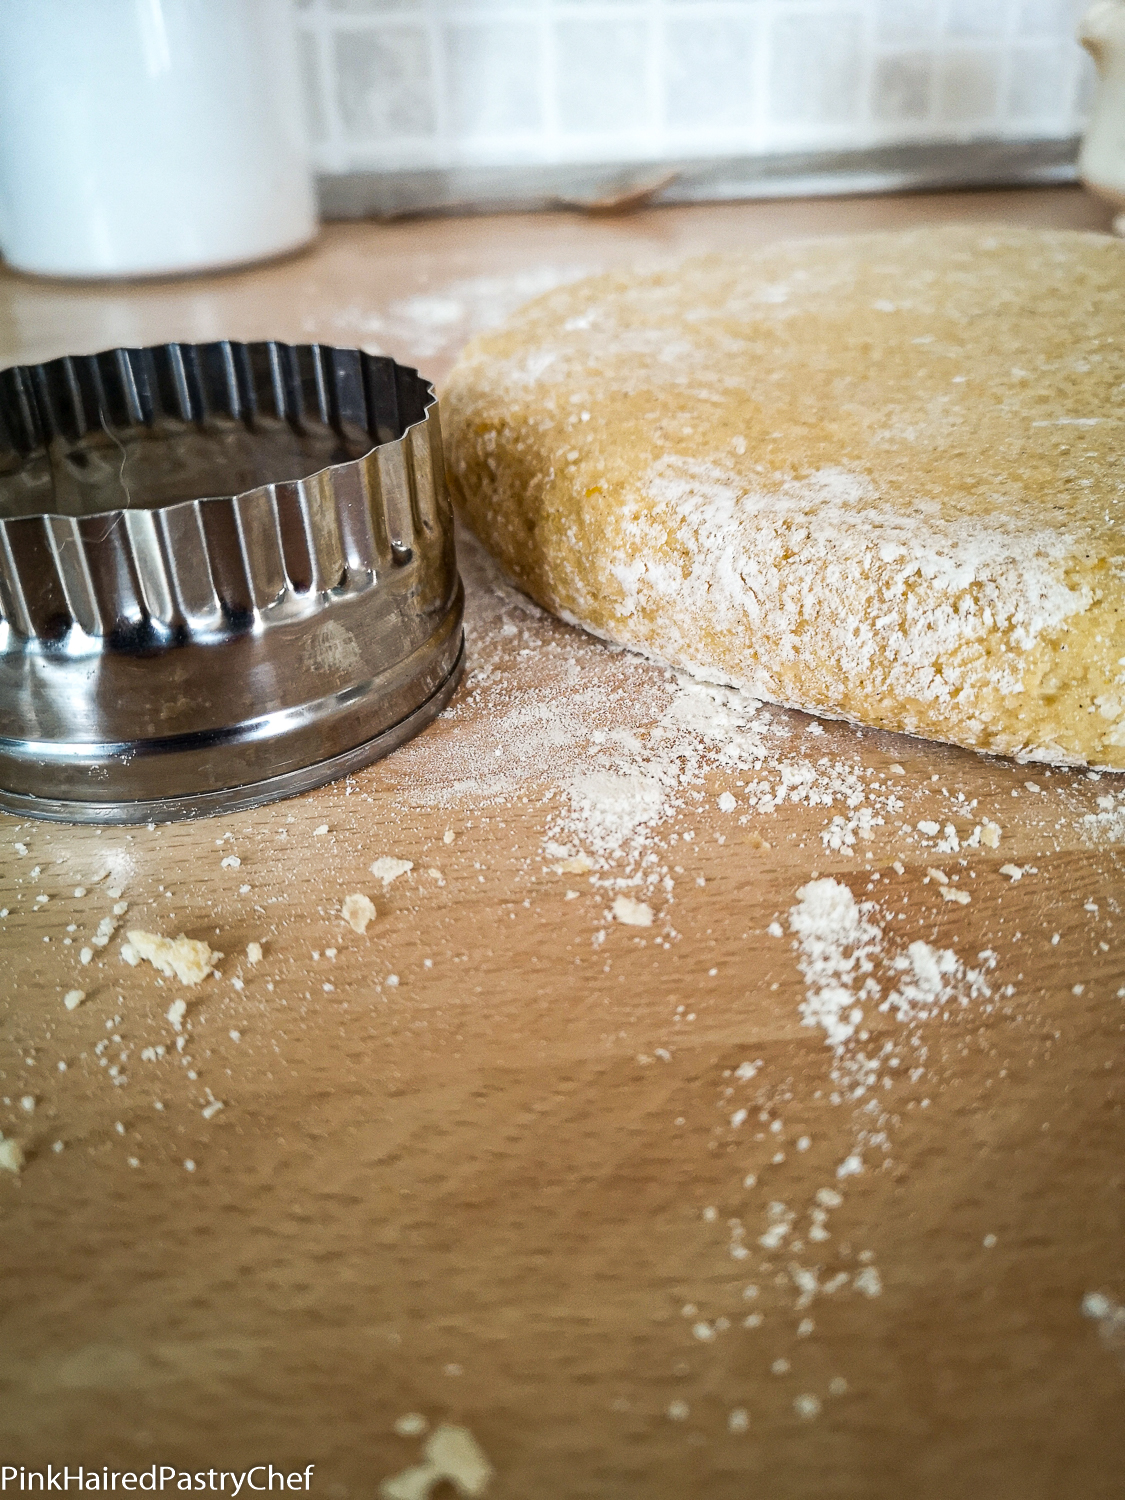
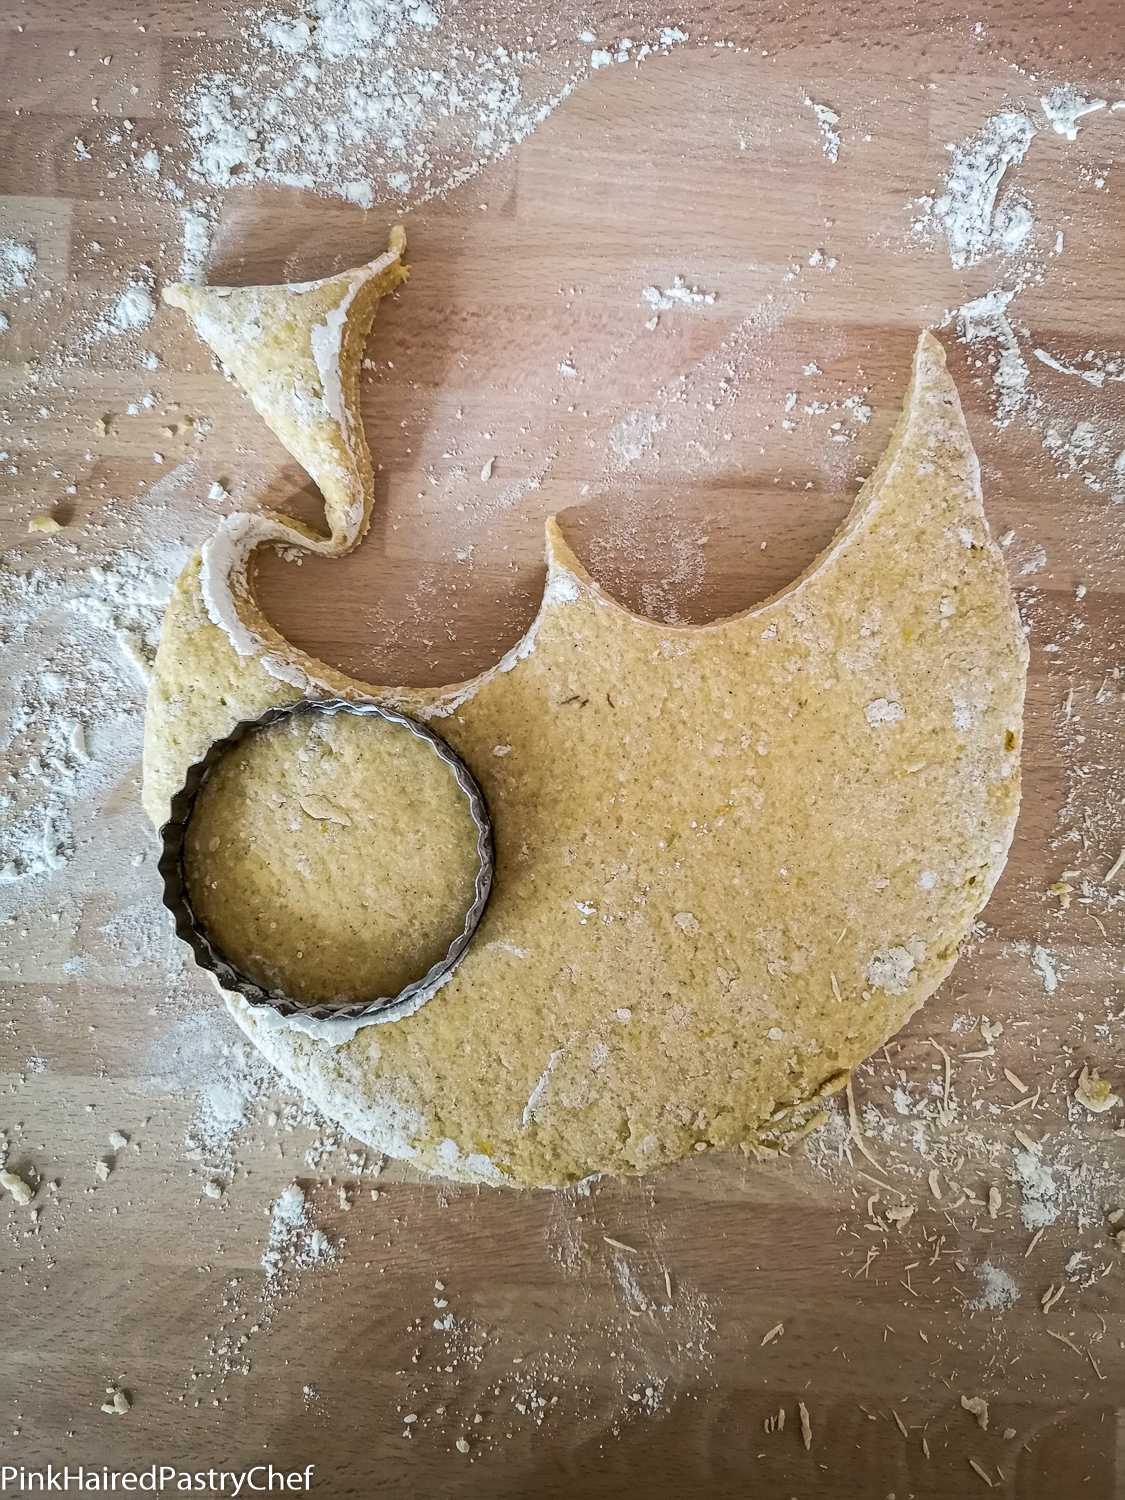
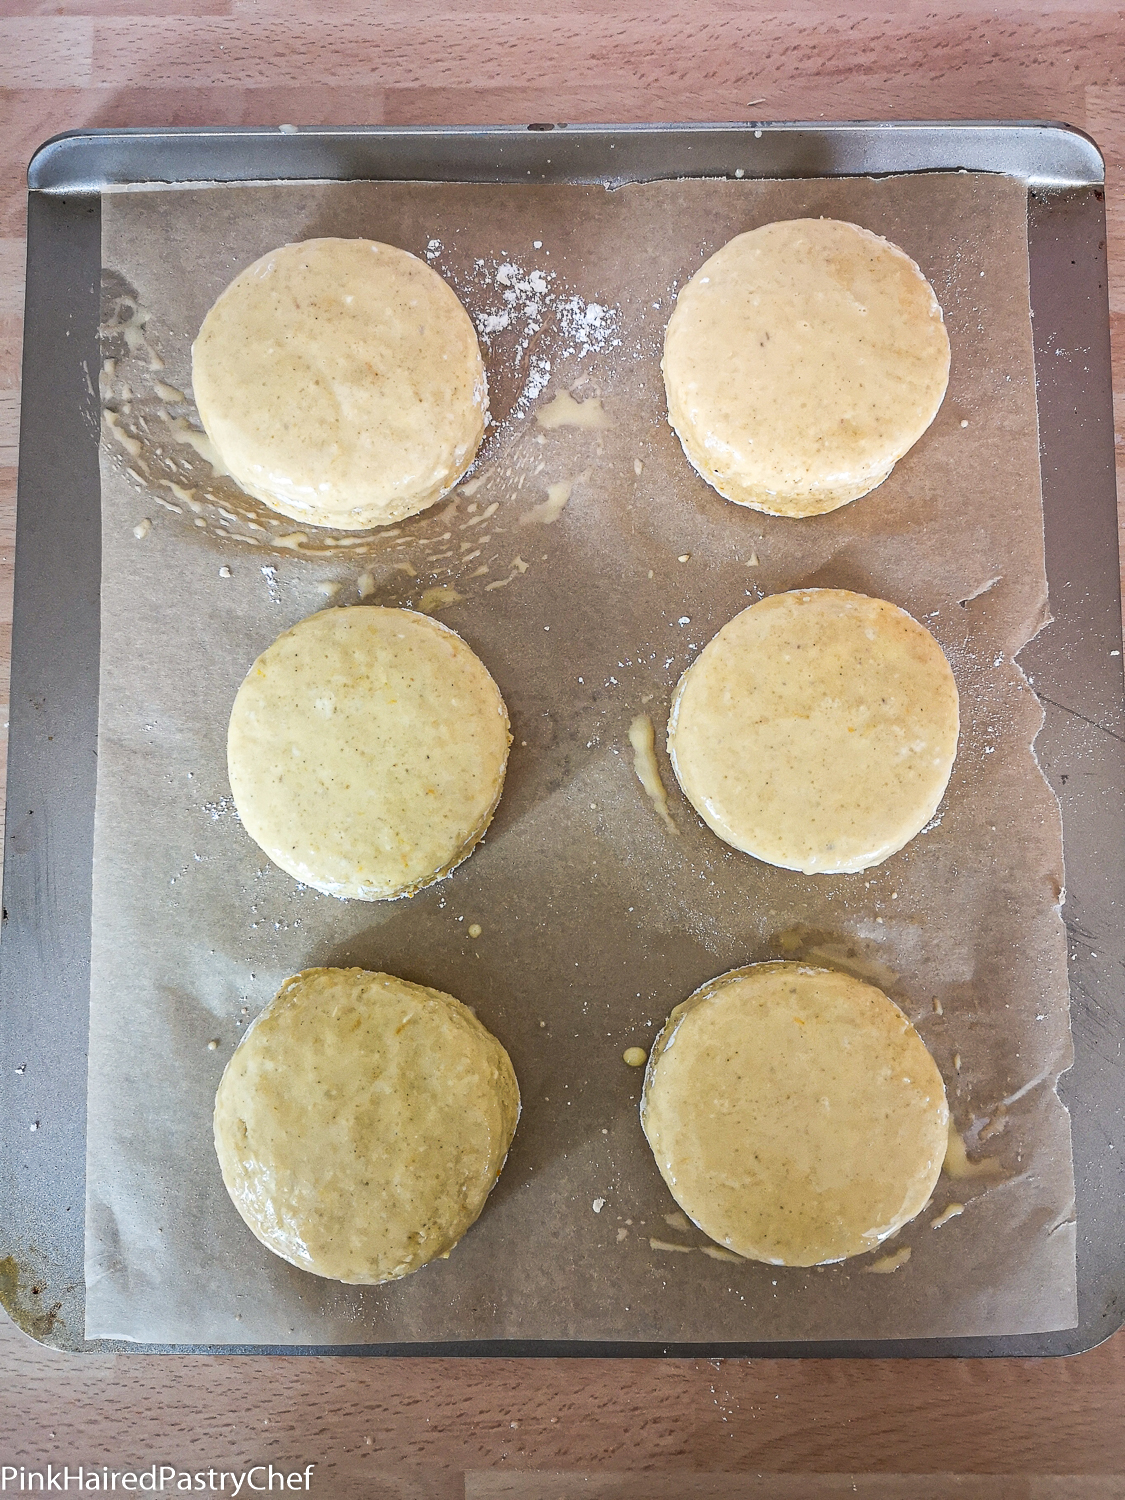
Lightly flour the surface again and roll out gently to at least half the thickness of the scone cutter. Cut each scone out carefully and place onto a greased and lined flat baking tray with plenty of space in between. You should get 6-7 scones out of the mix the first time around. Gently knead together any leftover pieces of dough to form another 1-2 scones.
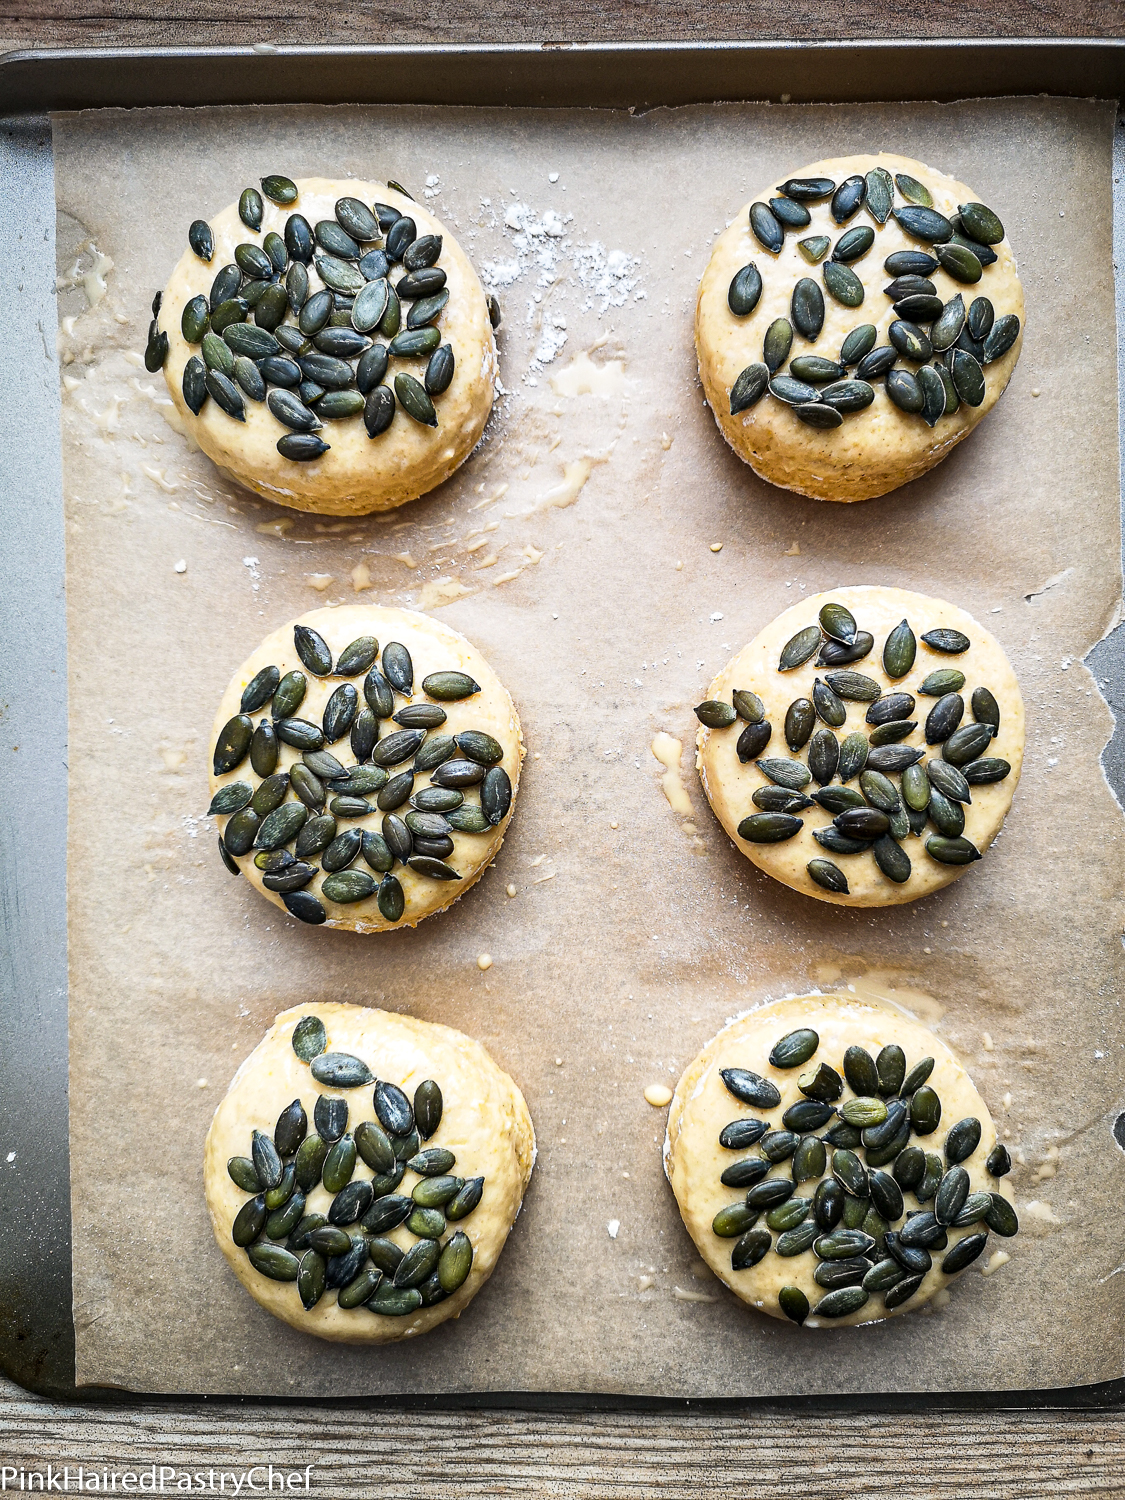
In a small bowl, break 1 egg along with a splash of milk and whisk together. You can use just milk either if you prefer. Brush this lightly onto the tops of each scone. Gently place a scattering of pumpkin seeds on each scone and gently pat down to ensure they stick. Bake for 20-30 minutes until fully risen and an even golden brown colour, making sure to turn them after 15 minutes of cooking.


ANY TIPS OR TRICKS TO MAKE THE PERFECT SCONE?
My recipe uses soft, room temperature butter. This helps the butter incorporate into the flour quicker and evenly. If your butter is too cold or hard, pop into the microwave for 5 second bursts to soften slightly.
Try to handle the dough as little as possible and gently. An overworked doughy results in a tough, chewy scone that won’t rise as well. Dust the dough with flour whenever needed for easier handling but don’t be too heavy handed with it.
With scones, I always find it’s better to go thicker than thinner regarding height. I don’t think I’ve ever complained about a scone that was too tall but I’ve definitely had issues with flat, small scones. So if in doubt, roll them thicker than you think they should be before cutting.
CAN I FREEZE SCONE DOUGH?
I have never frozen scone dough raw, but according to Nigella, you absolutely can freeze them raw. For best results, follow the steps up until the egg wash. Place them directly onto a lined baking tray, don’t egg wash them and freeze like this. After a few hours, once frozen you can place them into airtight containers or ziploc bags and can keep for up to one month. Bake these straight from frozen, just pop them onto a lined baking tray, egg wash and extend baking time by 5-10 minutes.
You can also freeze baked scones. For best results, freeze them on a tray as soon as they are cooled from baking. Once frozen, place them into an airtight container or a ziploc bag. These can last for up to one month. Defrost for an hour and pop them into a hot oven for 5-10 minutes.

For more Pumpkin Recipes, check out my Pumpkin Spice Cake with Pecans, my Pumpkin Spice White Chocolate Whipped Ganache Recipe and my Spiced Pumpkin Cheesecake Recipe.
Maybe you want more Breakfast Inspiration? Take a peek at my Breakfast Category, here.
Pumpkin Scones with Pumpkin Seeds
Equipment
- Large mixing bowl
- Fork or whisk
- Rolling Pin
- Flat baking trays
- Scone Cutter (Round Pastry Cutter)
- Small Bowl
- Pastry brush
Ingredients
- 450 grams self raising flour
- 80 grams caster sugar
- 10 grams baking powder
- 1 tbsp pumpkin spice
- 120 grams softened butter
- 2 whole eggs
- 100 grams milk
- 120 grams pumpkin puree
- egg wash or milk for brushing
- 50 grams pumpkin seeds
Instructions
- Preheat oven to 190°c (380°f) or 180°c (360°f) if fan assisted.
- In a large mixing bowl, add the flour, baking powder, sugar and spices. Mix together briefly.
- Add in the softened butter and using your hands, rub the butter into the flour until the mix resembles chunky breadcrumbs.
- Make a well in the centre of the mix and add the eggs, milk and pumpkin puree. Using a fork or whisk, mix together the liquids to blend evenly.
- Then begin mixing the liquids into the dry ingredients with a wooden spoon or with your hands.
- When the mix is nearly mixed, has stopped sticking to the bowl and has a few crumbs left in the bottom, take out of the bowl and place onto a lightly floured work surface.
- Gently knead until all flour has been combined. Lightly flour the surface again and roll out gently to at least half the thickness of the scone cutter.
- Cut each scone out carefully and place onto a greased and lined flat baking tray with plenty of space in between. You should get 6-7 scones out of the mix the first time around.
- Gently knead together any leftover pieces of dough to form another 1-2 scones.
- In a small bowl, break 1 egg along with a splash of milk and whisk together. You can use just milk either if you prefer. Brush this lightly onto the tops of each scone.
- Gently place a scattering of pumpkin seeds on each scone and gently pat down to ensure they stick.
- Bake for 20-30 minutes until fully risen and an even golden brown colour, making sure to turn them after 15 minutes of cooking.
3 Comments